How to Polish Titanium: Home Guide to Restore Shine & Avoid Damage
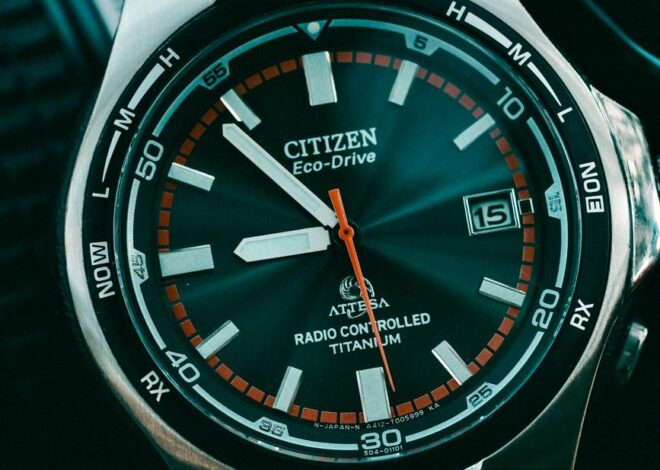
You bought a titanium watch that lost its shine after a year of daily wear. Or you found light scratches on a favorite titanium ring and want it looking new. Polishing titanium is doable at home for many items, but it helps to know the right steps, tools, and limits before you start. Do the wrong thing and you can remove finish, alter color, round sharp edges, or make repairs more expensive.
If you’re polishing jewelry, also check compatibility and skin safety in Titanium Jewelry before home polishing.
Quick answer: can you polish titanium?
Yes. Titanium can be polished to satin or mirror finishes using progressively finer abrasives followed by a polishing compound. The exact method depends on the surface type. Bare titanium and mechanically finished surfaces respond well to sanding and buffing. Anodized or colored surfaces will lose their color if you remove the oxide layer, so polishing those requires care or re-anodizing. For deep scratches, high-value pieces, or complex shapes, consider a professional.
Why titanium behaves differently when you polish it
Titanium is strong but relatively soft to moderate in hardness compared with some steels. It forms a thin oxide layer on the surface naturally. That layer helps corrosion resistance, but it also means that colored or anodized finishes sit on top of a thin surface layer. Polishing removes material, so the oxide and any color are easy to alter or remove.
Two practical effects matter for polishing.
- Material removal is necessary to remove scratches. Small scratches sit in the metal. To remove them you need to sand or grind below the scratch, which removes material. That is fine for robust items, but not for thin or delicate pieces.
- Heat sensitivity and work hardening. Aggressive polishing with high-speed tools can heat the metal surface and change its appearance. Titanium also work-hardens, so rough sanding followed by faster buffing can feel different than with stainless steel.
Common surface types and what polishing can do
Before starting, identify the finish you have. That determines whether you should polish at all, and how.
- Raw or milled titanium. This is untreated metal with machining marks. It polishes well to satin or mirror with progressive abrasives and compound.
- Brushed or satin finish. Fine parallel lines give the satin look. You can restore this finish by re-sanding in a single direction using the right abrasive pads. Do not buff to mirror unless you want to change the look.
- Bead-blasted or matte. These finishes have a micro-texture. Restoring the matte look requires re-blast or specific abrasive pads. Polishing will remove the texture and produce shine.
- Anodized or colored titanium. Color comes from a controlled oxide layer. Any abrasive polishing that removes the oxide will change or remove the color. If you want to keep color, avoid abrasive removal and use gentle cleaning only. Recoloring requires professional anodizing.
- Coated interiors or plated surfaces. Some items, like cookware or coated jewelry, have non-titanium layers. Do not polish those areas unless you understand the coating, because you can remove it.
Tools and materials you will need
Equipment ranges from a few dollars for a home kit to several hundred dollars for a motorized buffing setup. Here are common and reliable choices for consumer work.
- Wet/dry sandpaper in a range of grits: 320, 400, 600, 800, 1000, 1500, 2000. Wet sanding reduces dust and helps get an even finish.
- Sanding block or rigid backing to keep flat areas even. Small items benefit from wrapping sandpaper around a hard round dowel for curved surfaces.
- Scotch-Brite or non-woven abrasive pads for satin finishes. Use pads marked with grit or grade appropriate to the finish.
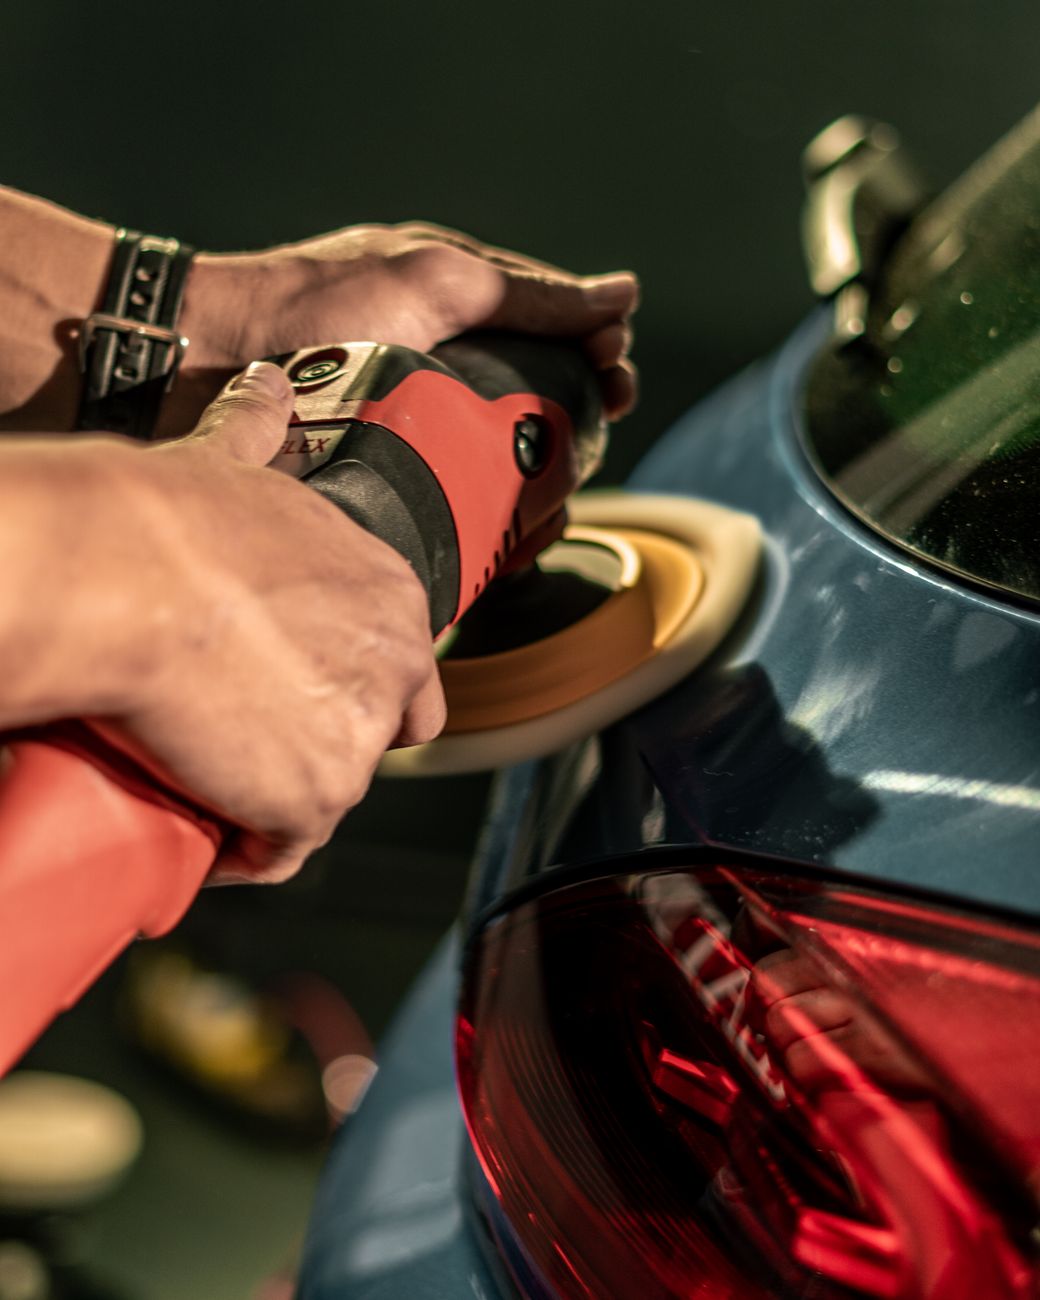
- Rotary tool or bench polisher (optional). A Dremel with low- to medium-speed control is useful for small areas. A bench buffer or variable-speed polishing motor is better for larger parts.
- Felt wheels, muslin wheels, and rubber polishing wheels for use with polishing compounds.
- Polishing compounds such as jeweler’s rouge (red rouge) for final mirror shine, and white polishing compound for lighter polishing. Diamond paste in fine grades is also effective on titanium for high-gloss results.
- Microfiber cloths and clean cotton rags for wiping and final buffing.
- Isopropyl alcohol or acetone for cleaning oils and compound residues before final inspection. Use sparingly and in a ventilated area.
- Protective gear including safety glasses, gloves, and an N95 or better respirator for airborne particles. Polishing creates fine dust and compound residue.
- Masking tape to protect adjacent surfaces, gemstones, or edges you do not want polished.
Optional professional or advanced tools
- Tumbling media and vibratory tumbler for small parts to achieve satin finishes without direct handwork.
- Electropolishing services performed by shops to remove a thin layer chemically for a bright finish. This is not typically a DIY method.
- Professional re-anodizing setups if you want to restore or change color.
Step-by-step: how to get a mirror finish on titanium
The mirror finish requires patience. Follow grit progression and finish with a good polishing compound. This procedure is for bare or industrial finishes. Stop if you reach an anodized surface you want to keep.
1. Clean and inspect
Wash the piece with mild soap and water and remove oils or dirt. Dry thoroughly. Inspect the depth of scratches under good light. Deep gouges will require more material removal to eliminate.
2. Remove deep scratches (if necessary)
Start with a coarser sandpaper, such as 320 or 400 grit, only where needed. Keep the sanding area small. Use even pressure and check progress frequently. Sand in a pattern that allows you to remove only what is necessary. If the item has complex geometry, consider professional help.
3. Work through grit progression
Move systematically through finer grits. A common sequence is 400, 600, 800, 1000, 1500, 2000. Wet-sand from about 600 grit and finer. Keep the surface wet and wipe frequently to check scratch patterns. The goal is to remove scratches left by the previous grit before moving up.
- For flat surfaces use a sanding block to stay level.
- For curves, wrap the paper around a smooth dowel or use fingers but keep pressure light and even.
4. Prepare for buffing
After 2000 grit, the surface should look uniformly matte but very smooth. Wipe with isopropyl alcohol and let dry. Secure the part for buffing so it does not move. Mask off any areas you do not want polished.
5. Use a polishing wheel and compound
Apply a small amount of polishing compound to a felt or muslin wheel. Run the wheel at moderate speed. Lightly touch the part to the wheel, keeping it moving to avoid heating. Work one small area at a time. For titanium, diamond paste or jeweler’s rouge gives strong results. Start with a coarser polishing compound and finish with a fine compound or rouge.
6. Final hand buff
Once the wheel work is done, use a clean microfiber cloth and a tiny amount of fine compound for a last hand buff. This removes compound residue and evens the appearance. Wipe clean with isopropyl alcohol.
7. Inspect and protect
Examine the surface under varying light angles. If you see faint swirl marks, you can repeat final buffing with a softer wheel or try a slightly finer compound. Apply a light coat of carnauba wax or specialty metal sealant to help protect the finish from fingerprints and minor marring.
How to restore or maintain satin and brushed finishes
One common goal is to restore the factory brushed look. That is easier than creating a mirror shine, and you do not need compounds.
- Use non-woven abrasive pads or fine sandpaper and sand in a single, consistent direction. Use a sanding block for flat areas to keep lines even.
- Start with a grit that removes the original scratches quickly, usually around 400 to 600, then finish with an 800 to 1000 grit pad to refine the grain.
- Keep strokes consistent and the same pressure across the part. Change pads frequently when they clog.
- For small areas, Scotch-Brite pads made for metal finishing provide consistent grain without deep cuts.
Polishing anodized or colored titanium
Anodizing is an electrochemical process that produces a thin oxide layer. The color comes from interference effects in the oxide and not from pigment. Because the color sits in a thin surface layer, abrasive polishing will remove or alter it.
If your goal is to retain color, avoid sanding into the oxide. Clean gently with mild soap and a microfiber cloth. Light surface polishing with very fine compounds can slightly brighten the surface while preserving color, but proceed cautiously. For color restoration or change, re-anodizing by a professional is the right approach.
Hand polishing small items: jewelry, rings, and watch cases
For rings and small jewelry you can often do everything by hand.
- Use small pieces of wet/dry sandpaper folded to match curves. Progress through grits. Hold the work under running water or use a wet surface to reduce heat and clogging.
- Finish with a polishing cloth impregnated with jeweler’s rouge or a fine diamond paste applied on a soft cloth.
- Protect stones and settings with masking tape. If pieces have plated sections, avoid polishing those areas.
- If there are gemstones, be aware that polishing compounds and heat can damage some stones or loosen settings. If the item is valuable, use a professional jeweler.
If you are comparing a new band, our guide to best titanium rings covers different styles. Check the material and finish of the specific ring before choosing a cleaning or polishing method.
Polishing knives, tools, and sharp edges
Polishing blades is common for aesthetic reasons, but take special care with edge geometry and safety.
- Do not polish across the cutting edge. Protect the edge with tape or by keeping buffing away from the bevel to retain sharpness and profile.
- Use low speeds to avoid overheating the edge, which can reduce hardness in tempered steels. Titanium knives are different but still avoid generating excessive heat that can alter appearance or induce galling when combined with steel parts.
- For folding knives with titanium handles, remove the handle from the blade assembly if possible to avoid compound on moving parts. If you cannot disassemble, take extra care to protect the blade and pivots.
Troubleshooting and common mistakes
Here are problems readers often run into and how to fix or avoid them.
- Uneven finish or visible sanding lines. You skipped grits or moved to a higher grit too soon. Go back to the coarser grit where the lines are visible and rework the progression more evenly.
- Heat discoloration or blueing. Caused by too much pressure or wheel speed. Stop, let the metal cool, and try again at lower speed or with less pressure. If color change is surface deep, you may need additional sanding to remove the heat-affected zone.
- Loss of anodized color. This happens when you sand into the oxide. If color is important, stop and consult a re-anodizing service.
- Rounded sharp edges. Over-polishing flattens corners. Mask edges you want to keep sharp and use light pressure near edges.
- Residue from compounds in crevices. Use a toothbrush and isopropyl alcohol to remove compound residues. Ultrasonic cleaners are useful for small jewelry after polishing.
When to hire a professional
Many repairs and restorations are DIY-friendly, but consider a professional if any of the following apply.
- The piece is high value or sentimental and mistakes would be costly.
- There are deep gouges that require significant material removal or reshaping.
- You need to preserve anodized color or reapply an anodized finish.
- The part has complex geometry that is hard to mask and protect, such as multi-piece watch cases with movement inside.
- You need electropolishing, tumbling, or industrial finishing equipment.
Maintenance: keeping a polished titanium finish
Once you reach the desired finish, maintenance is straightforward.
- Clean regularly with warm water, mild dish soap, and a soft cloth to remove oils and grit that cause micro-scratches.
- Wipe fingerprints promptly. Finger oils can dull high-polish over time.
- Store polished items separately to avoid abrasive contact. Use soft pouches for jewelry and lined boxes for watches.
- For cookware, avoid metal utensils and abrasive scouring pads on polished interiors. Many titanium cookware interiors are ceramic or nonstick and should not be polished.
- Occasional light re-buffing with a soft cloth and a small amount of fine polishing compound keeps mirror surfaces bright.
Safety considerations
Polishing produces fine dust and compound contamination. Follow these precautions.
- Wear safety glasses and gloves.
- Use a respirator or work in a well-ventilated area. Wet sanding reduces airborne dust.
- Secure the workpiece to avoid slips that could cut or damage the item.
- Keep polishing compounds and solvents away from open flames. Some compounds are flammable and may build up heat on wheels.
- Clean sanding dust from your workspace. Metal dust on machines may cause contamination or wear.
Tables: quick references
Grit progression and what to expect
| Grit | Purpose | Result |
|---|---|---|
| 320–400 | Remove deep scratches and surface defects | Visible coarse scratches. Use only where necessary. |
| 600–800 | Smooth the surface and remove coarse scratches | Surface becomes uniform. Start wet sanding from this range. |
| 1000–1500 | Refine surface for fine polishing | Very fine scratches. Surface looks matte but smooth. |
| 2000 | Pre-polish before buffing | Nearly mirror ready. Minimal sanding lines left. |
| Polishing compounds | Final shine and defect removal | High-gloss mirror finish when used correctly. |
Method comparison
| Method | Best for | Pros | Cons |
|---|---|---|---|
| Progressive sanding and buffing | Bare titanium, mirrors, jewelry | Precise control, high gloss | Time-consuming, material removal |
| Hand satin finishing | Brushed surfaces | Preserves finish, low equipment | Requires consistent strokes, slower |
| Rotary tool polishing | Small areas, detail work | Fast, flexible | Risk of overheat, uneven pressure |
| Tumbling or vibratory finishing | Small batches, consistent satin | Uniform finish, low labor | Requires equipment, not mirror for all parts |
| Electropolishing | Industrial parts, fine finish | Uniform, little mechanical stress | Not DIY, may remove oxide color, cost |
Common misconceptions
Here are a few misunderstandings people bring to polishing titanium.
- You can restore anodized color by polishing. No. Polishing removes the oxide layer that creates the color. Re-anodizing is required to restore color.
- Toothpaste or household hacks give a durable mirror finish. Toothpaste will slightly clean and reduce very fine surface greying, but it is not abrasive enough for real scratch removal. It will not replace progressive sanding and proper compounds.
- Titanium will not scratch easily so you do not need to worry. Titanium resists corrosion and is strong, but it still scratches and can show wear. Polishing and protection are often necessary for visible surfaces.
Practical takeaways
Polishing titanium is a balance between the finish you want, how much material you can afford to remove, and whether the surface is anodized. For most consumer items these rules deliver the best results.
- Identify the finish first. If it is anodized, consider professional re-anodizing rather than aggressive polishing.
- Use grit progression. Don’t skip grits. The smoother your sanding progression, the less buffing and rework you will need.
- Control heat. Use wet sanding and moderate wheel speeds. Heat can alter appearance and cause discoloration.
- Protect what shouldn’t be polished. Use masking tape around edges, stones, or plated areas.
- When in doubt, get a pro. High-value, complex, or thin parts are safer in experienced hands.
Frequently asked questions
Can I polish anodized titanium without removing the color?
Not really. Anodized color is in a thin oxide layer. Abrasive polishing removes that layer and changes the color. For minor brightening, very gentle cleaning or a low-abrasion cloth may help. For restored or altered colors, professional anodizing is needed.
What polishing compound is best for titanium?
Diamond paste or jeweler’s rouge are commonly used. Diamond paste gives fast results and is effective at cutting the metal to a high gloss. Rouge is classic for final brightening. Choose compounds labeled safe for non-ferrous metals to avoid contamination.
Will polishing remove deep scratches?
Yes, but removing deep scratches requires removing material from the surface to go below the scratch. That is done with coarser grit sanding and takes practice to keep the surface even. For very deep gouges on expensive items, professional repair may be a safer option.
Can I use a Dremel on titanium?
Yes for small areas. Use low to moderate speed, appropriate buffing attachments, and light pressure. Keep the tool moving to prevent heat build-up. For broad flat surfaces, a bench buffer or hand sanding is usually better.
How long does polishing titanium take?
Time depends on the condition and size of the part. Minor touch-ups on a ring can take 30 to 90 minutes. A full mirror polish on a watch case or larger parts can take several hours or more, including sanding through multiple grits.
Will polishing change the strength or properties of titanium?
Polishing removes only surface material. For typical consumer polishing, the change in bulk mechanical properties is negligible. However, aggressive grinding that removes significant material could change dimensions or reduce corrosion protection if coatings are removed.
Can I restore a bead-blasted finish at home?
True bead-blast texture is produced with media and pressure. You can approximate a matte look with non-woven abrasive pads, but matching factory bead-blast often requires a blast cabinet and media. For small items, some jewelers offer re-blasting services.
Final practical advice
Titanium polishes beautifully if you understand the finish you have and use steady, stepwise methods. Start conservatively. Practice on scrap pieces or inexpensive items to learn how different grits and compounds behave. When an item is valuable, complex, or anodized and you want to preserve color, professional finishing or re-anodizing is often the best option. With the right tools, patience, and protective measures, you can restore or refresh titanium surfaces and keep them looking their best for years.